


Colors

Color Applications
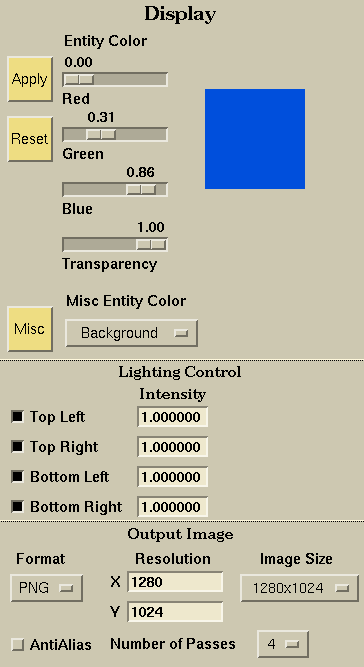
The Colors application allows the user to change the display colors at any time. When saving the grid or model, SolidMesh does not save the color changes. However, several command line options are available for this purpose.
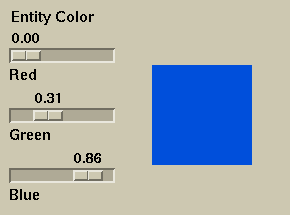
The desired color is selected by using the sliders to control the red, green and blue components. The corresponding color is displayed in the window to the right of the sliders.
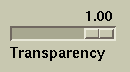
The entity transparency is set using the slider to control transparency level, 0.0 makes the object invisible and 1.0 makes the object completely opaque. Transparency may be applied to faces, cutting planes, and surface grids.

The Apply button allows the user to apply the desired color and transparency to the selected entities.

The Reset button reverts the selected entities back to their original color and transparency settings from when SolidMesh was invoked.

The Misc button applies the selected color to the item selected in the Miscellaneous Entity Color menu.
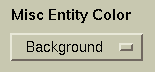
Select non-pickable items to change the color of, including the Drawing Area background, debug entities, Surface and Volume Weather Maps, and cutting planes. The color is set using the color selector and applied using the Set Miscellaneous Entity Color button.
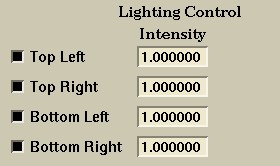
There are six individual lights within SolidMesh, two which are fixed behind the viewer from the top and bottom and four lights (positioned behind the viewer at the top left, top right, bottom left, and bottom right in screen coordinates). The four corner lights can be turned off using the corresponding toggle button. The intensity or brightness of each can be set using the corresponding Intensity text field. The intensity values range from 0 (off) to 1 (full intensity). The intensity can also be set using the LightIntensity parameter in the gui set-up file.

The Image format selector allows the user to specify the image format for the output image file. The supported image formats are PNG, RGB, GIF, and JPEG.
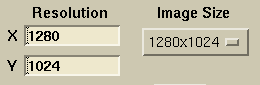
The Resolution text fields specify the image resolution for the output image file. The Image Size selector fills in the Resolution text fields with some common image sizes.

Antialiasing is used to generate higher quality image files. Antialiasing smooths the jagged pixelated look of the lines in the output image. Increasing the number of antialias passes increases the image quality and corresponding file size. Antialiasing is not available using the OpenInventor version on Solaris machines.

The Write button creates the output image file. The output files are numbered sequentially and the filenames are CaseName.xxxx.fmt where xxxx is a unique number and fmt is the file extension based on the image format. The image files are generated using the ImageMagick libraries.
 |
 |
 |
 |